Building a bouldering wall
Time to climb!
In the last twelve months or so my son has taken an interest in climbing, in particular bouldering. Given his burgeoning desire to climb, I thought I would build a wall under our house. We have a post-war Queensland house typical in suburbs in and around Brisbane.
So, how was a guy with no construction experience going to achive this task? Well below is a quick wrap of what I got up to.
First thing was to measure up the space I had, keeping in mind the possible fixations I might use. I was fortunate as our house is set on a raised concrete building slab which is quite a study anchor point for decking or other structures.
The dimensions for this wall ended up being 2200 (w) x 2200 (h). I went for marine ply and treated pine due to the exterior nature of our house. This also affected my choice of climbing hardware in that I chose stainless steel t-nuts and bolts
In the end my shopping list looked like this:
Hardware
- Marine Ply (15mm) - (2500mm x 1200mm)
- Treated Pine - (2500 mm x 90mm x 70mm)
- Treated Pine Decking Posts x 2
- 14g Treated Pine timber screws x 100
- 10g Treated Pine timber screws x 100
- Steel stirrups x 2
- Galvanised bolts (or high tensile) x 10
- Dyna Bolt (for steel stirrups) x 2
- Stainless Steel T-Nuts (for climbing holds) x 100
- Stainless Steel Hex head bolts (for climbing holds) x 100
Tools
- Circular Saw
- 2 x timber horses (for cutting timber)
- Clamps (for cutting timber)
- Square/Measuring Tape
- Hammer Drill (Concrete)
- Impact Drill
- Driver Drill
- Timber drill bits (to match 14g/10g screws)
- Masonry drill bit (to match dyna bolts)
- Hand Saw
- Hammer
- Allen Key or Hold tightener
After getting my supplies (which included a number of trips to the hardware store) I started building my frame. I went for a simple structure with a number of cross supports. I also went with decking posts and steel stirrups to ensure purchase when attaching to the slab.
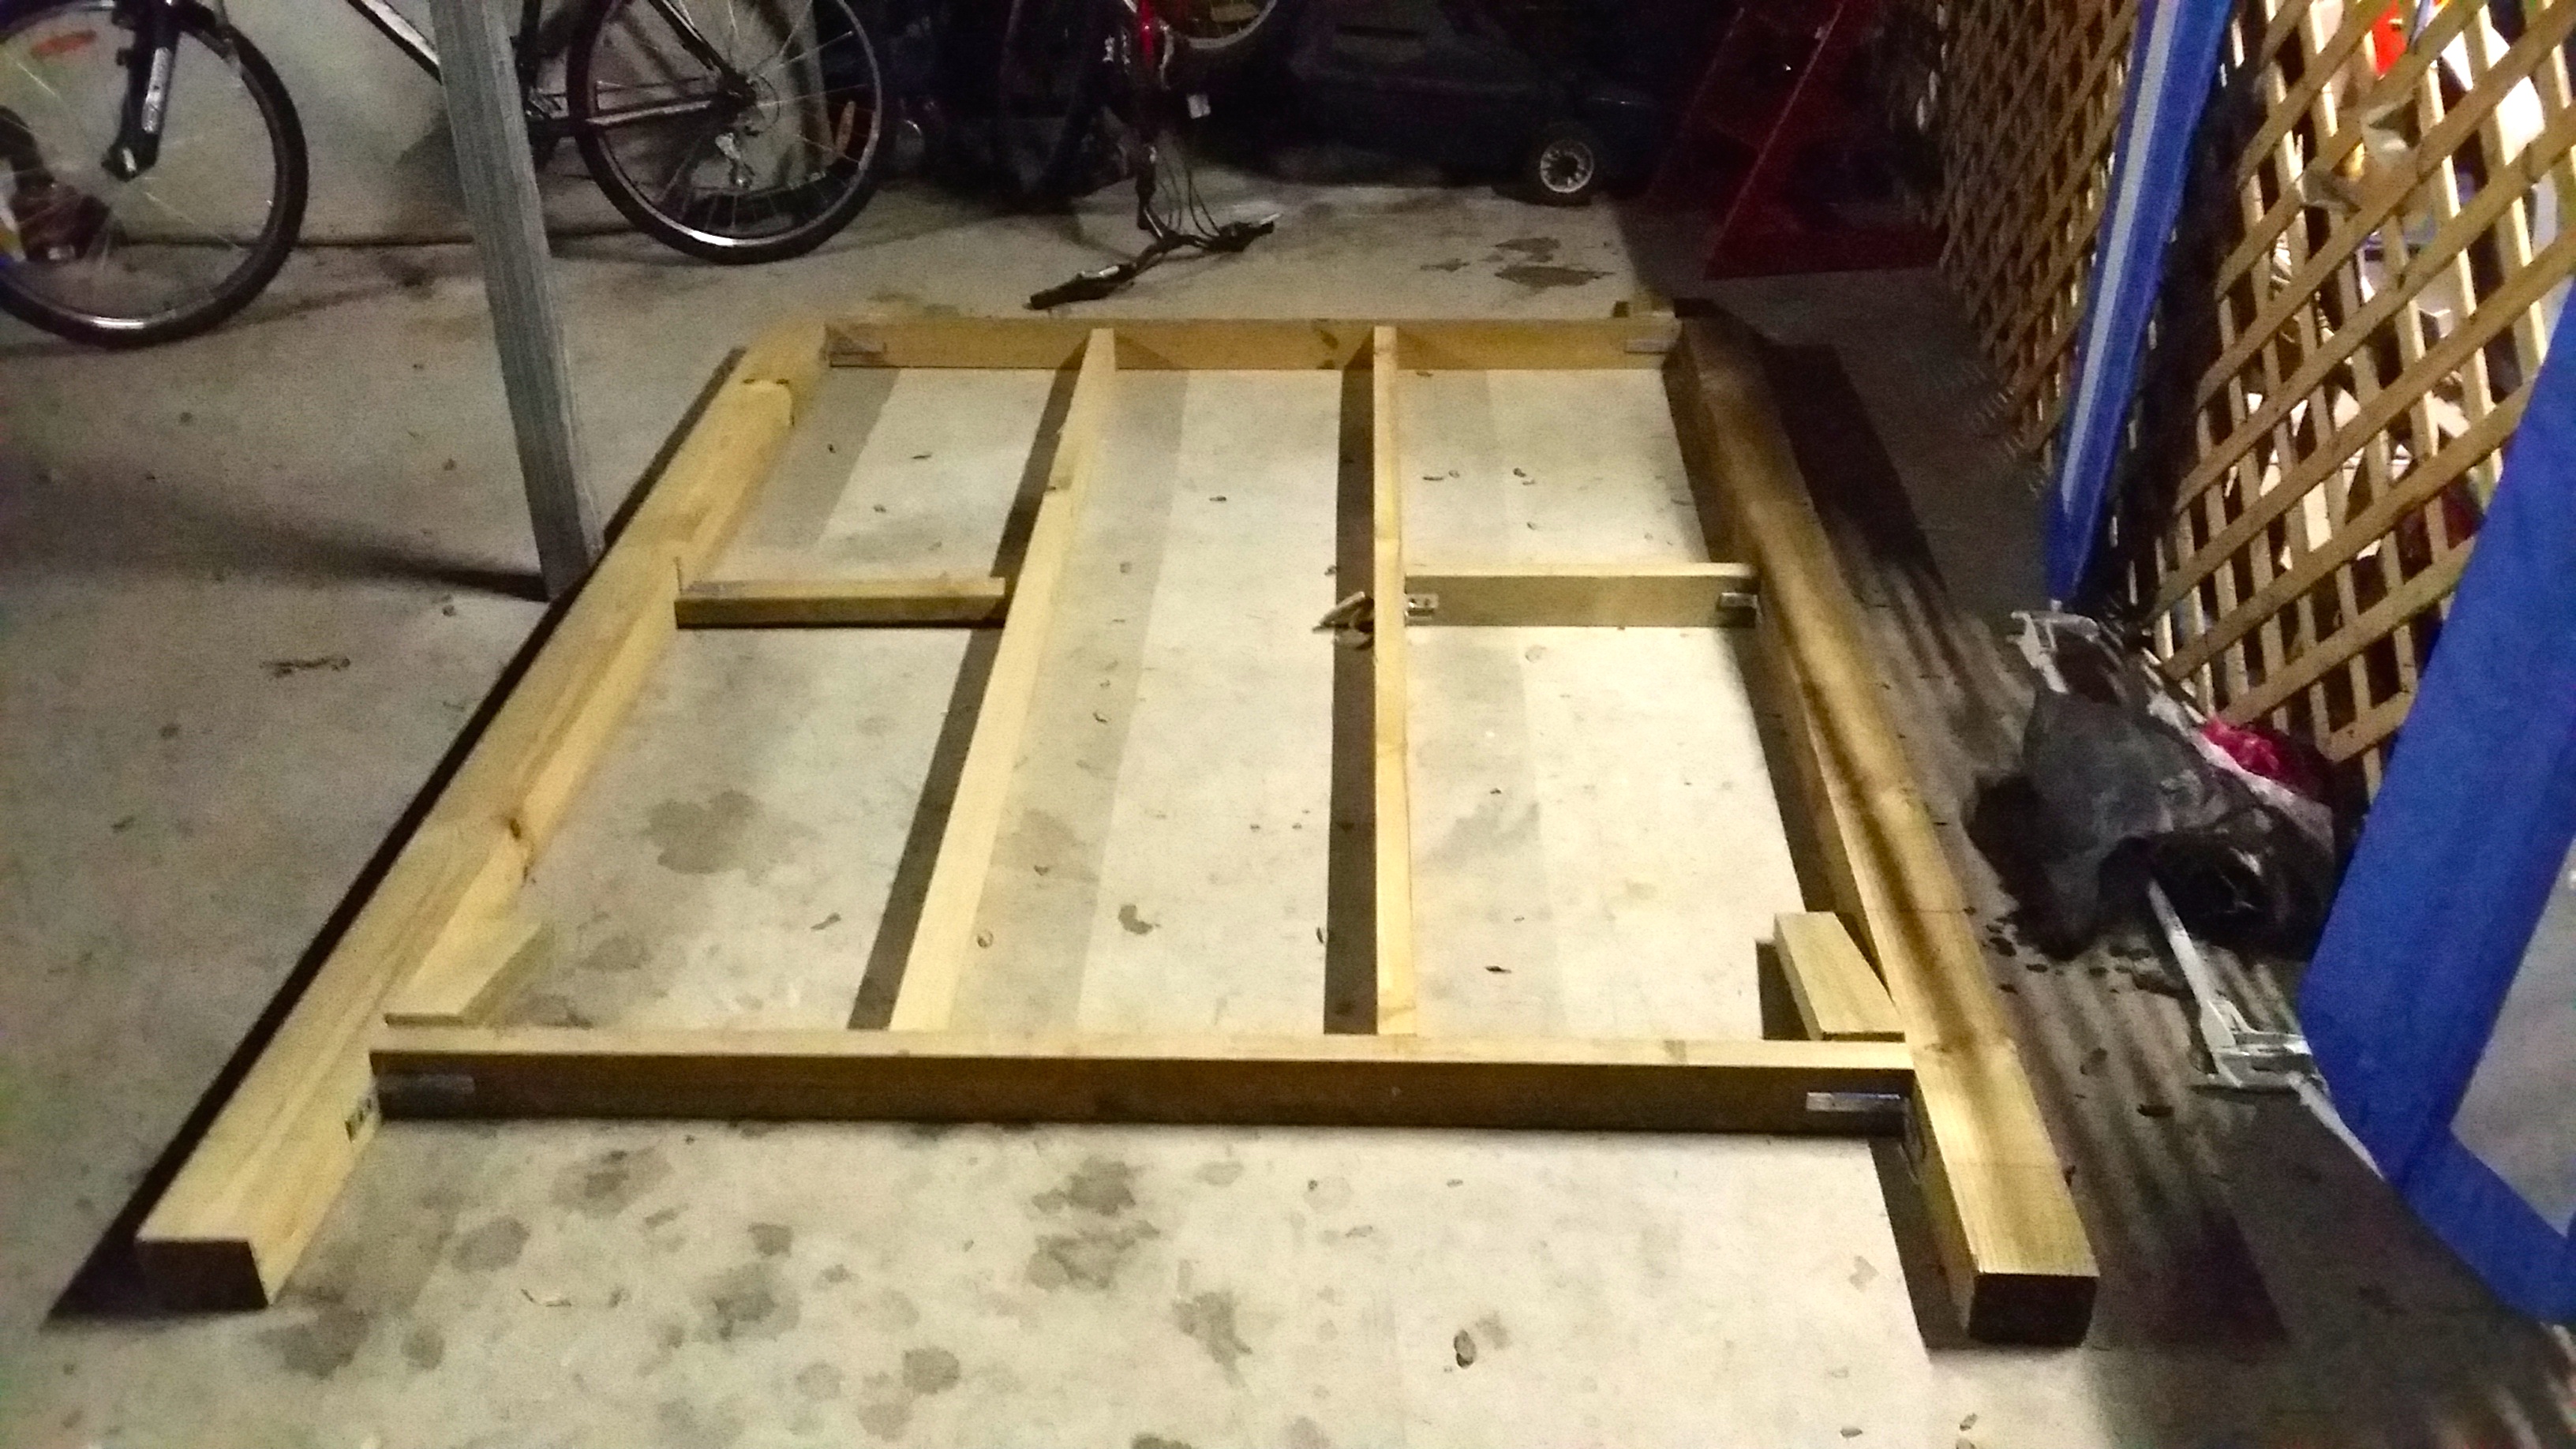
From there, it was time to drill the holes for the stirrups and fix the frame. In my case, this meant a number of hours drilling with an old hammer drill and melting a few masonry bits.
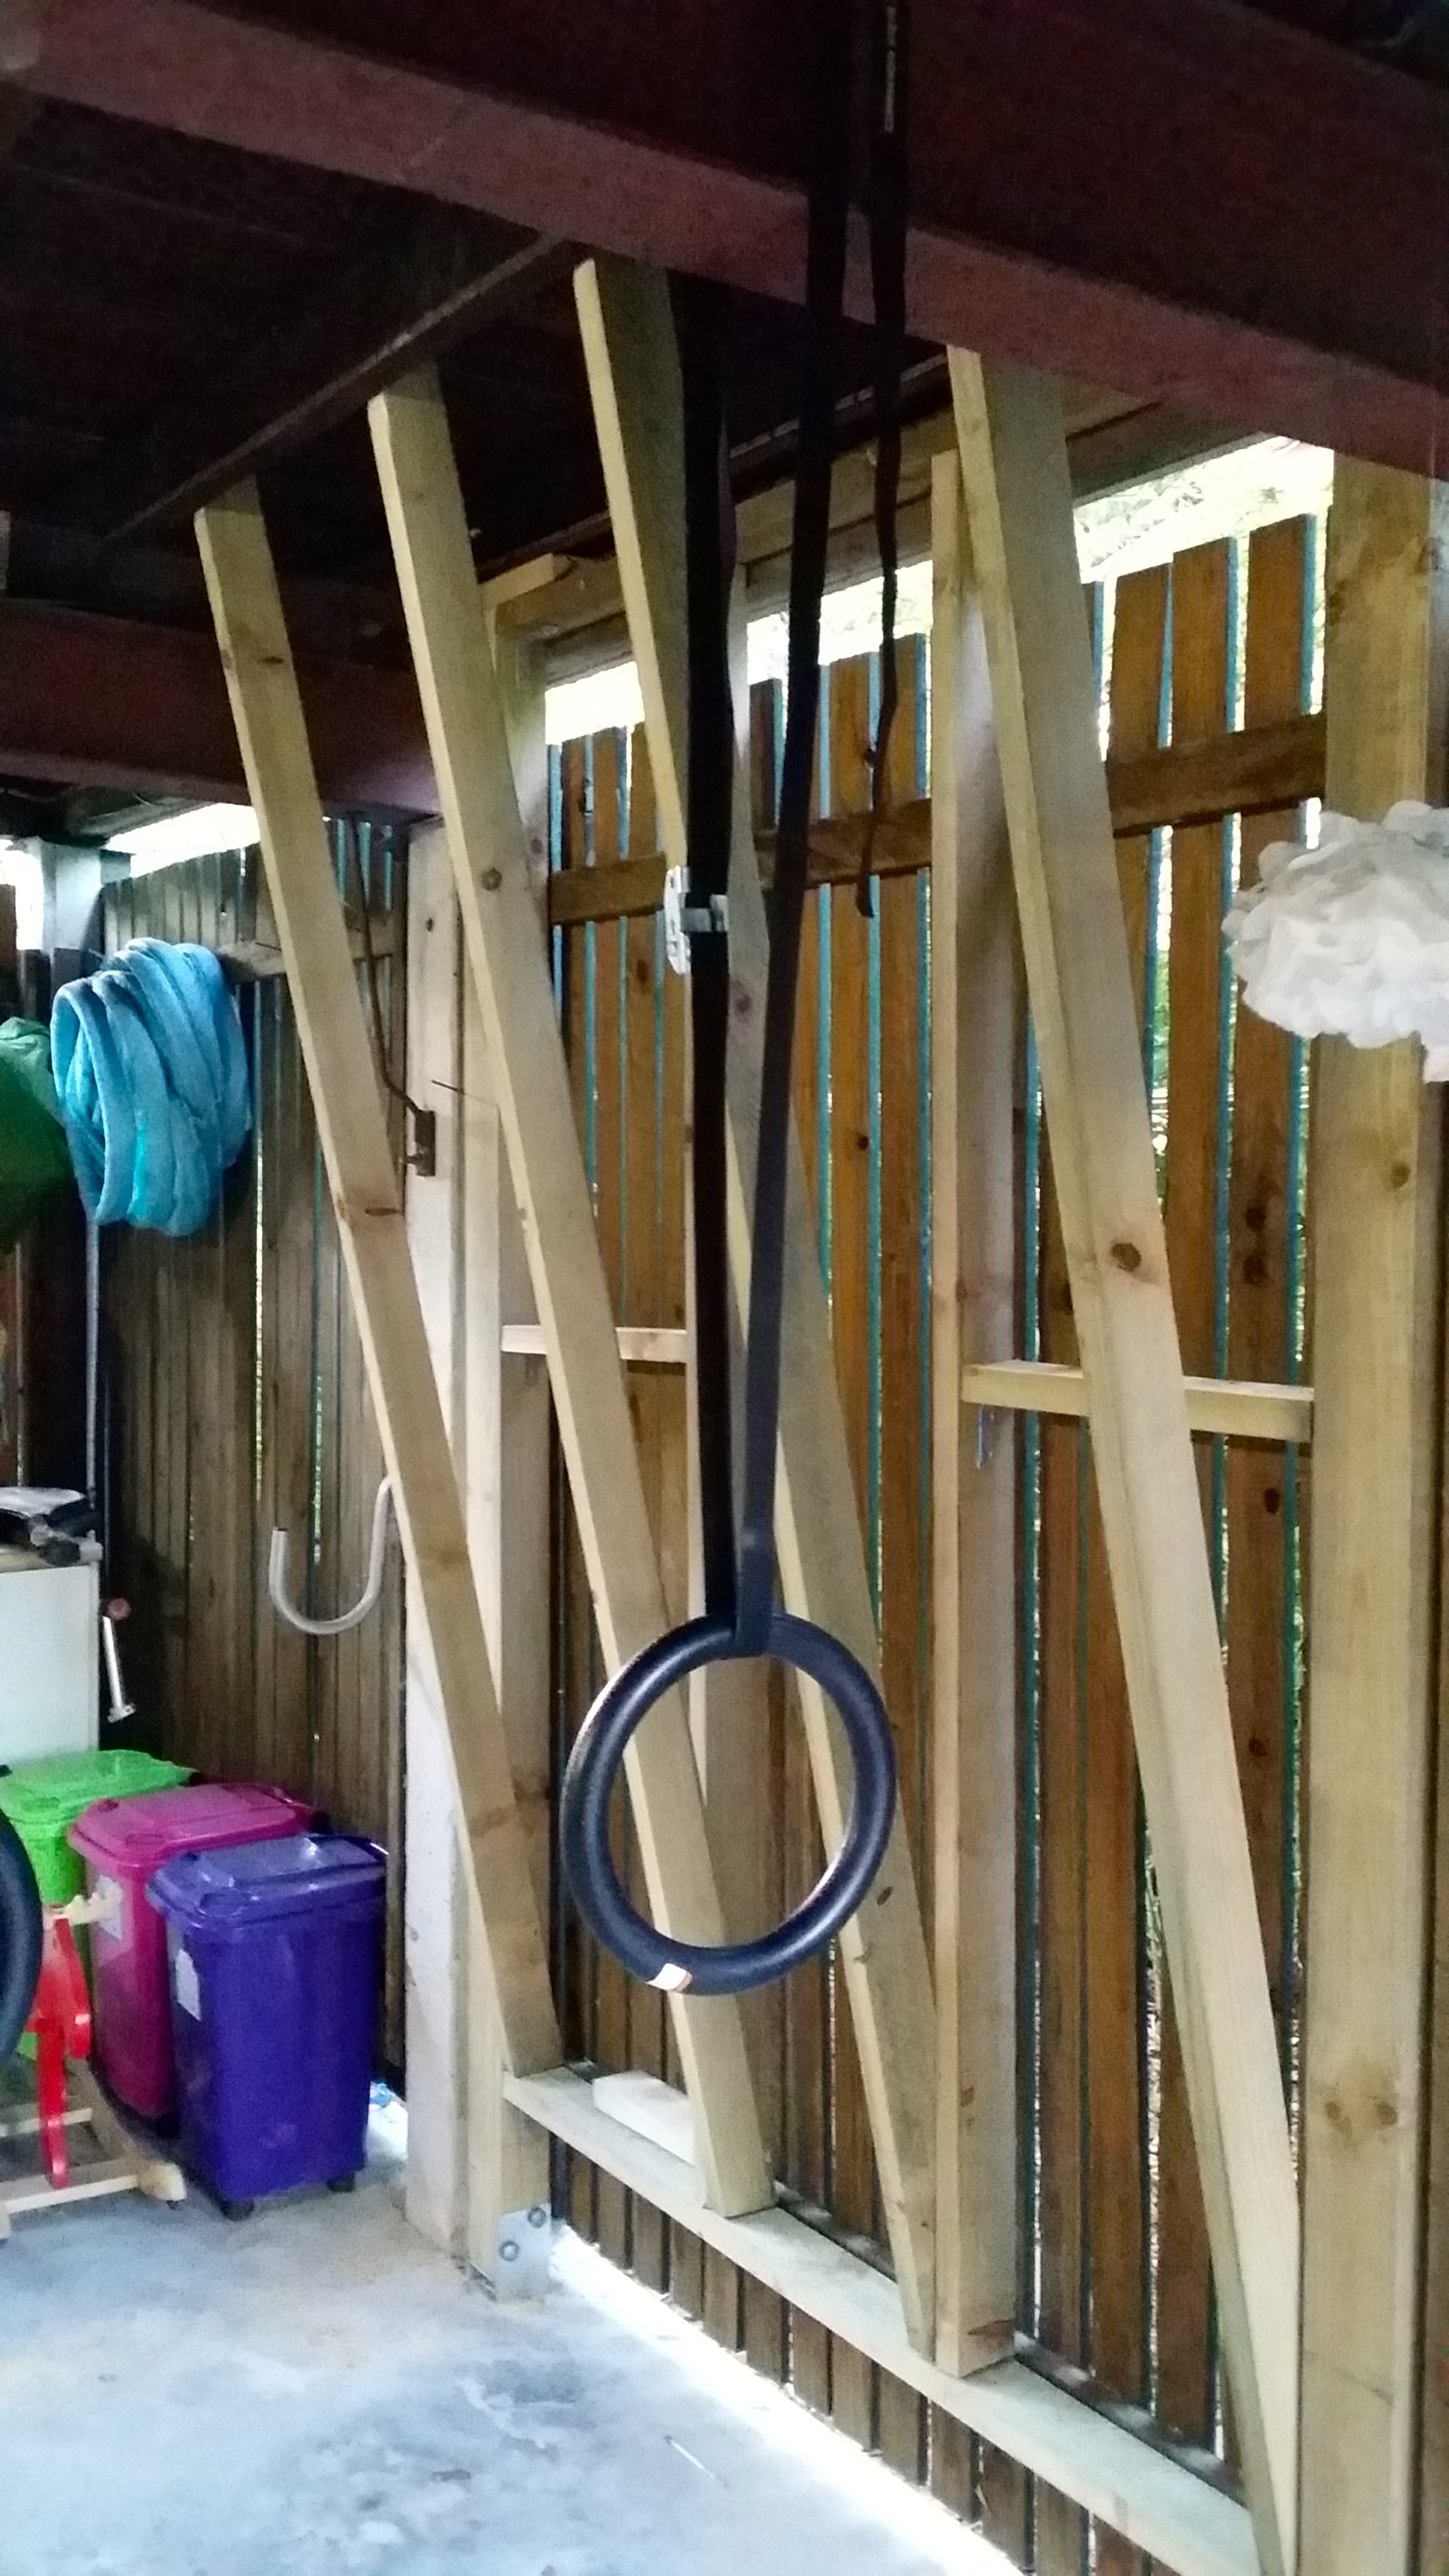
After bolting the structure on it was time to decide what sort of incline I was going to create. After chatting to some experienced climbers and given my son is a beginner looking to develop, I went for 15 degrees.
To create the incline, I created a secondary frame that would be fixed to the initial frame and attached to the roof bearers.
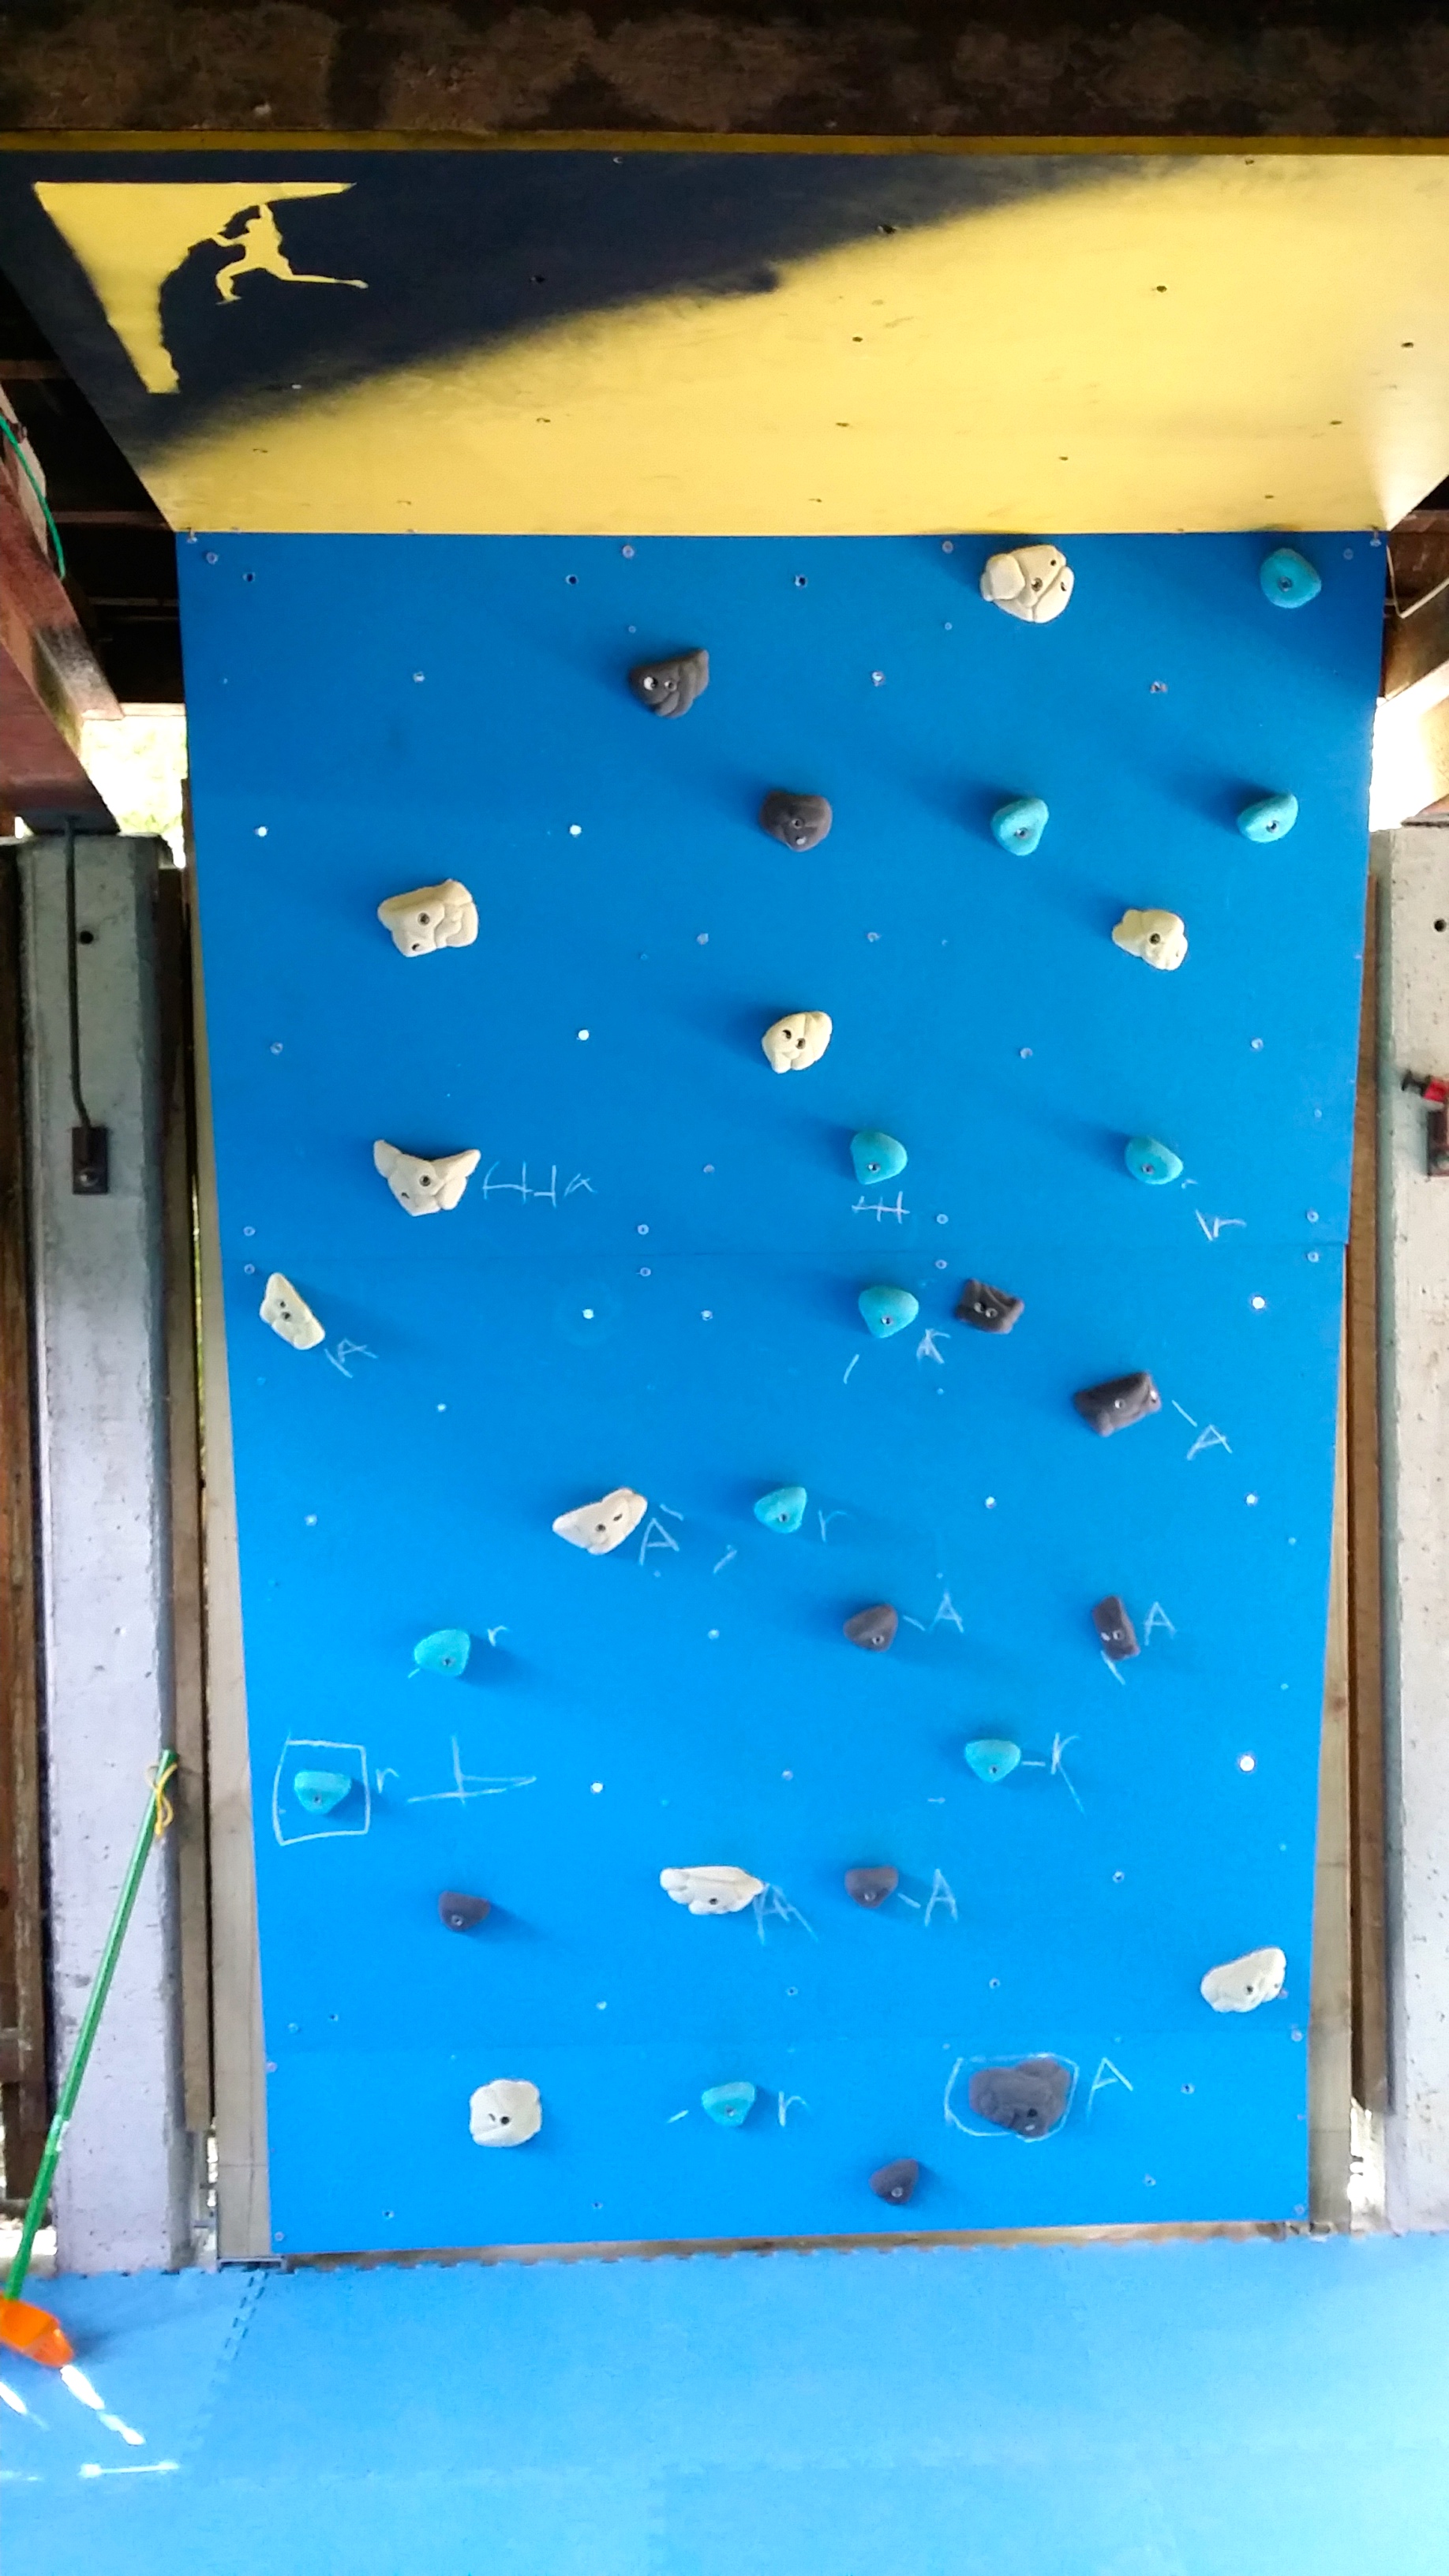
It was then time to put up the boarding. As mentioned, I went with marine ply (15mm) and cut to size accordingly with a circular saw. We also painted the board with chalkboard paint to give it some texture and also allow for it to be drawn on.
IMPORTANT Prior to adding the boarding, I predrilled holes and inserted the t-nuts!
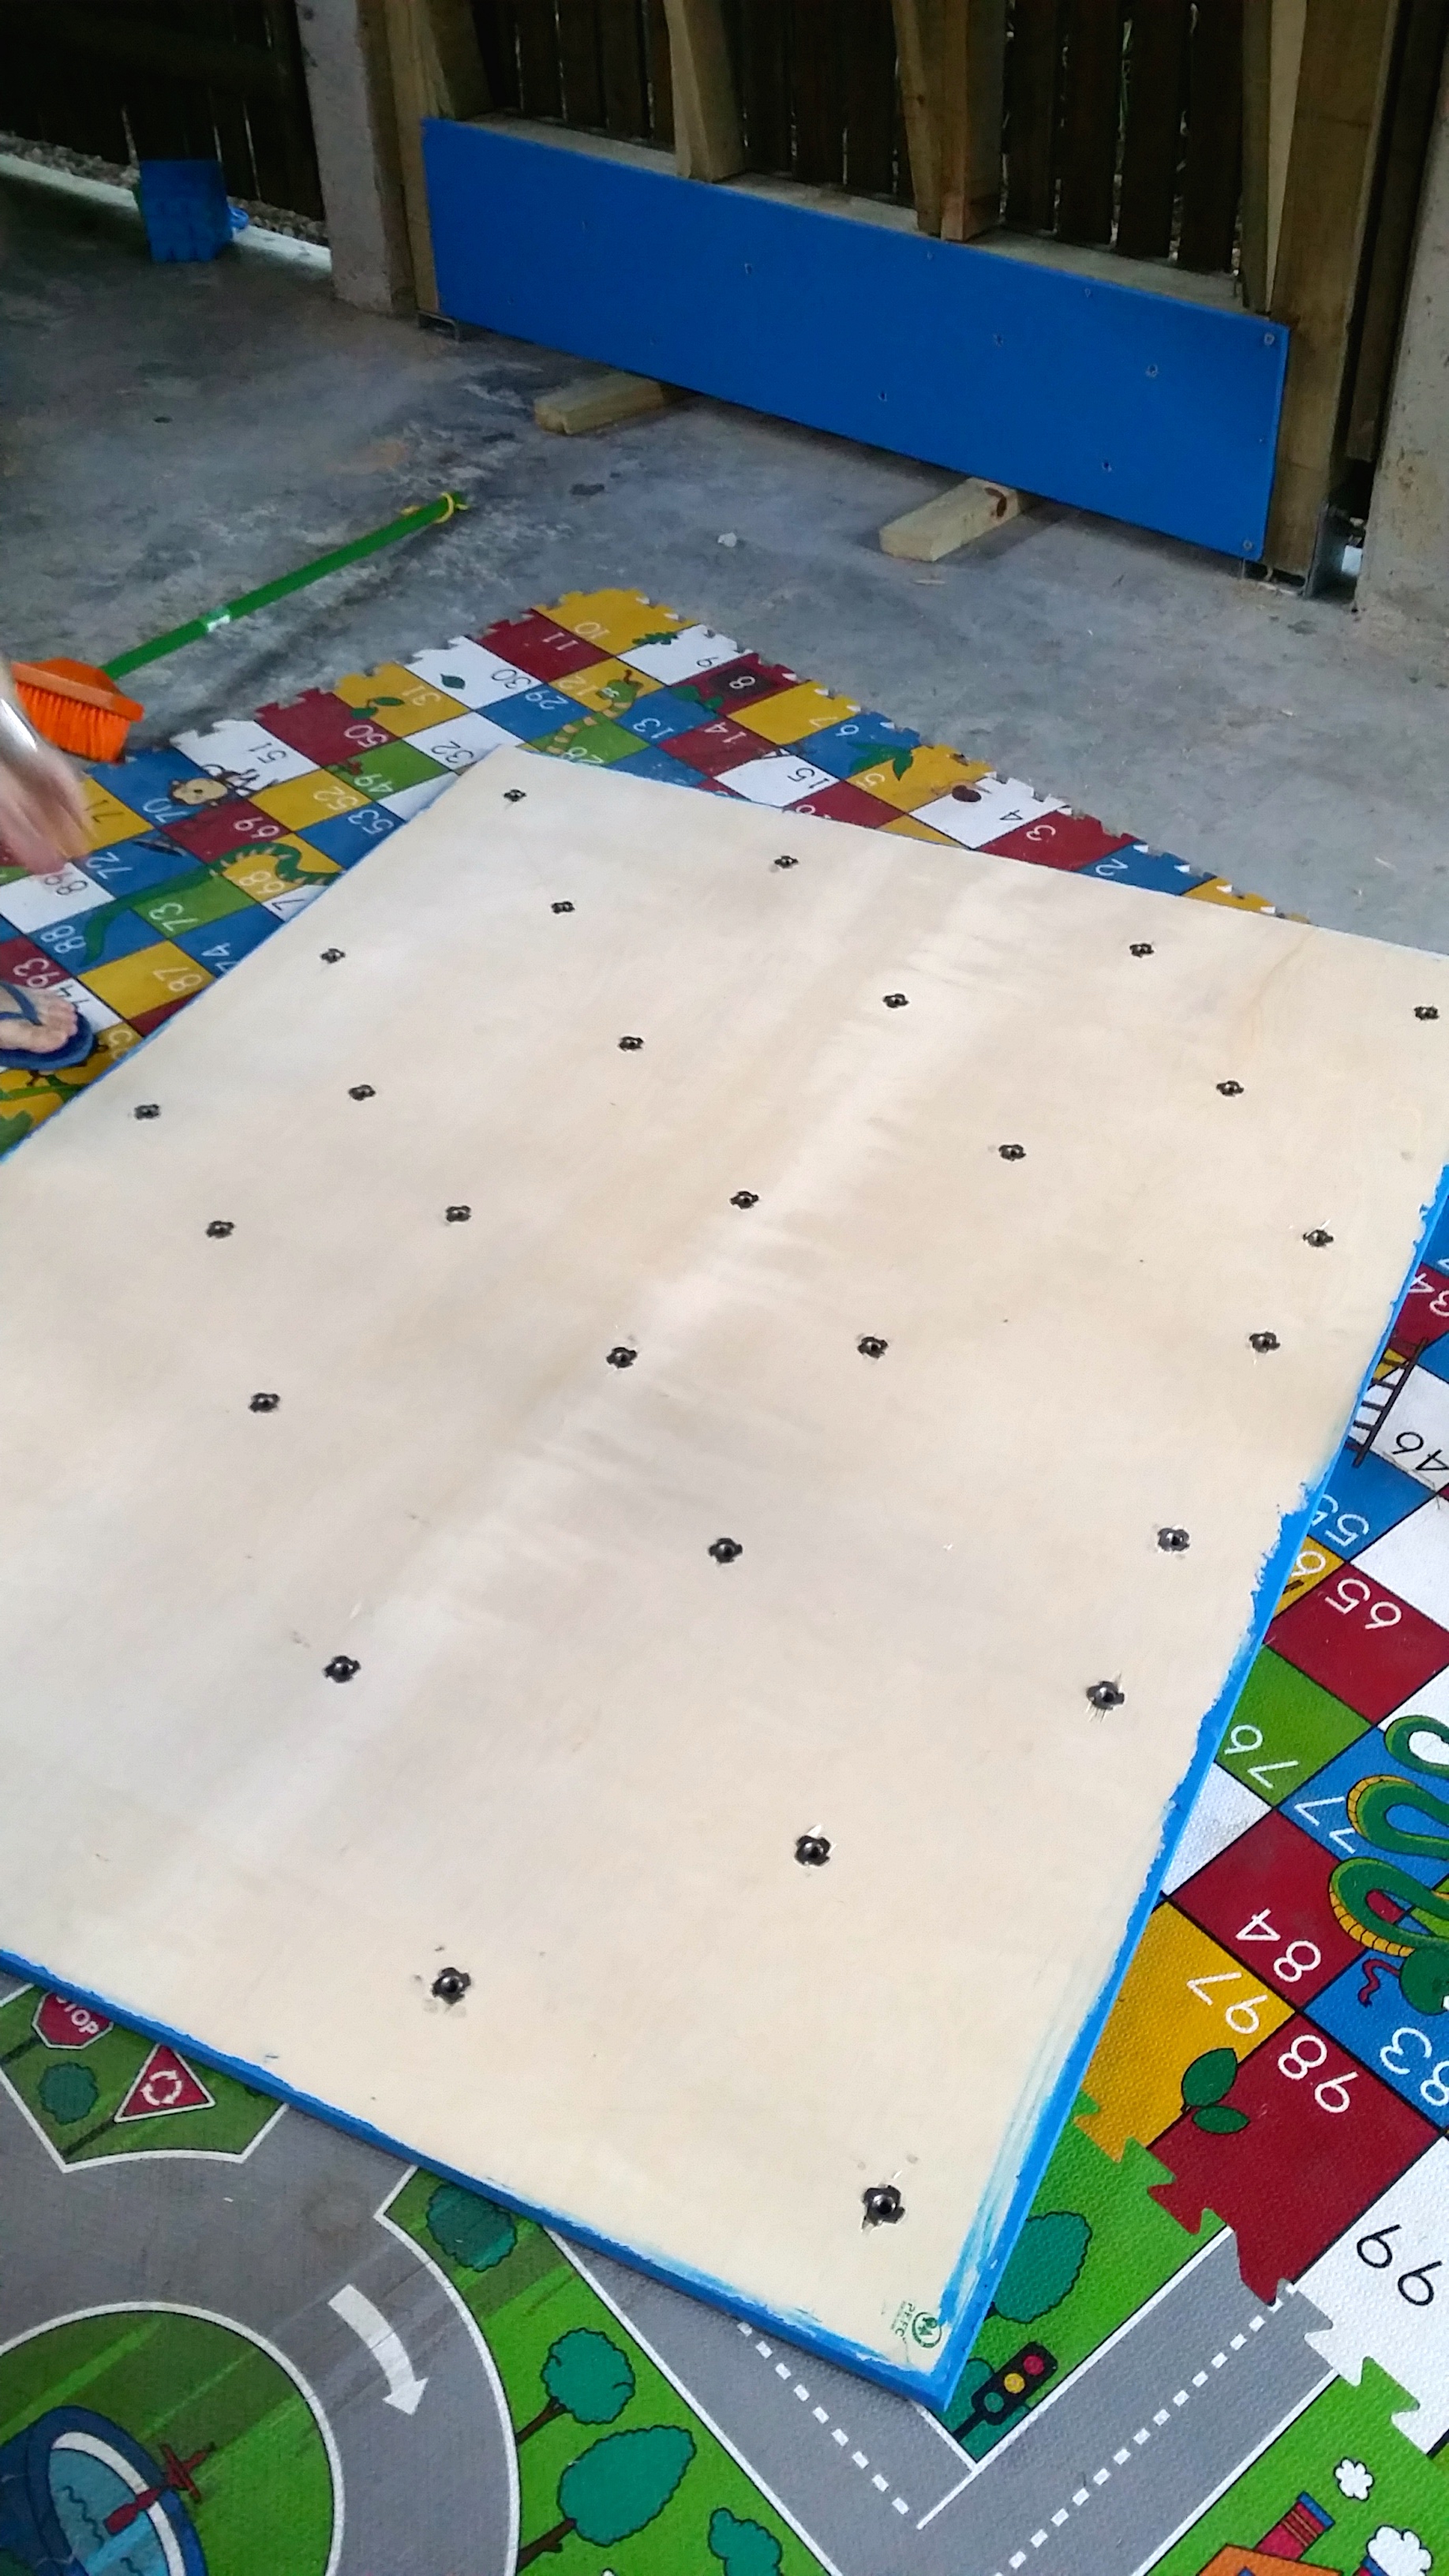
Finally, I also added boarding to the side of the wall and the roof. (I was fortunate that bearers are exposed on old Queensland houses)
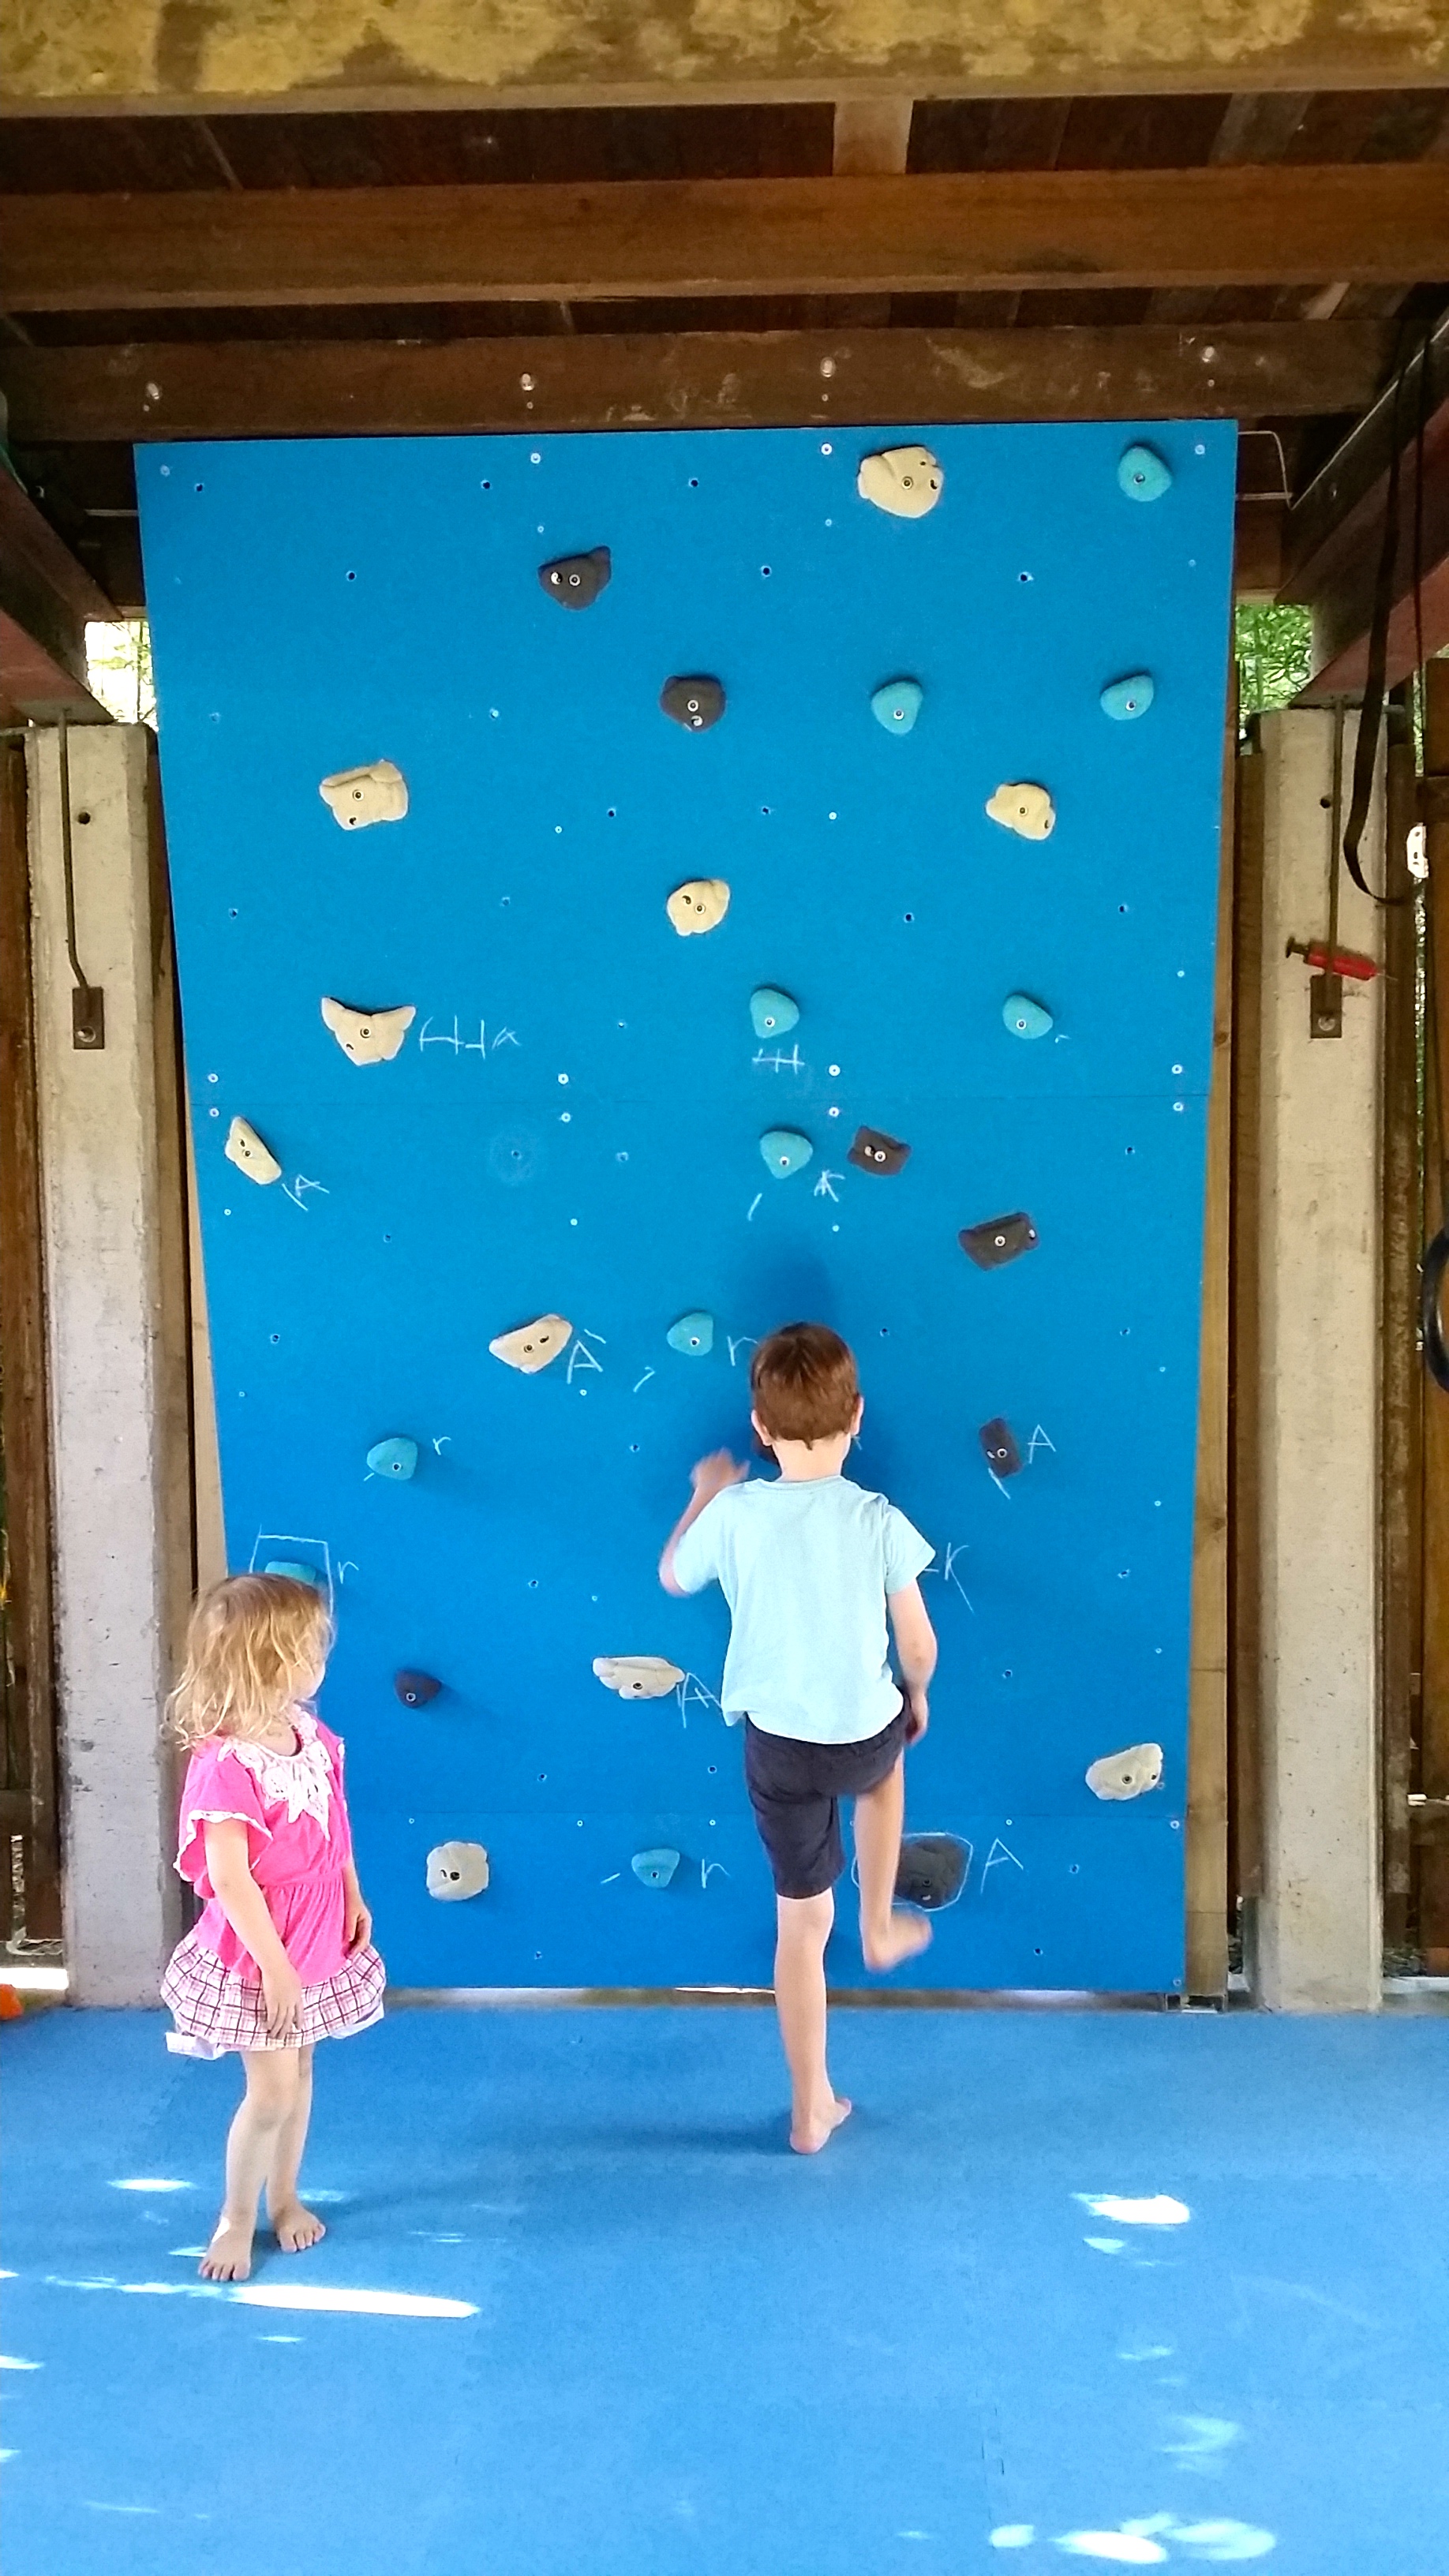
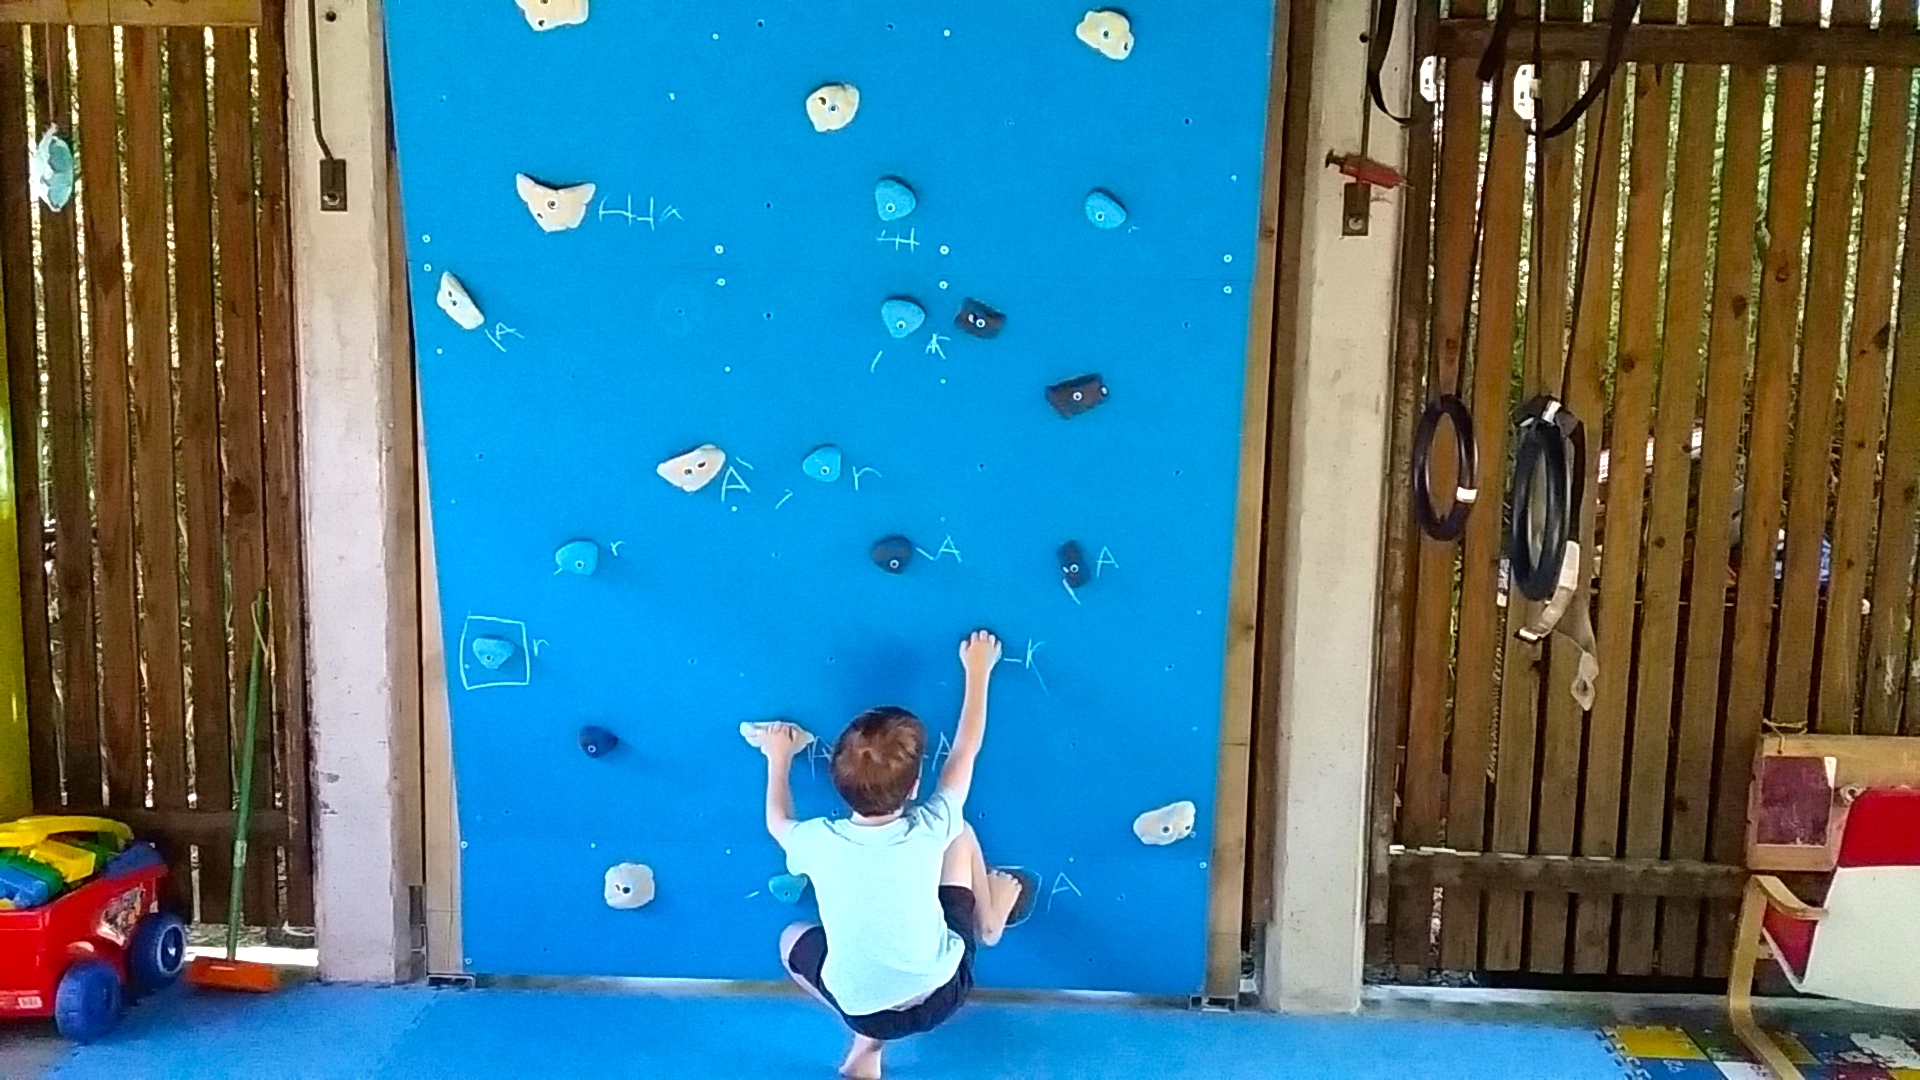
I picked up about 40-50 holds from Uncarved Block and with a bit of trial and error set up the holds and let the kids go at it.